Installing a kitchen tap might seem like a daunting task, but with the right tools and a clear understanding of the process, you can do it yourself and save on installation costs. Here‘s a detailed, step-by-step guide.
Gather Your Tools and Materials
Before you start, make sure you have all the necessary tools and materials. You’ll need an adjustable wrench, a pair of pliers, a screwdriver, plumber’s tape, and of course, your new tap. Additionally, have a bucket handy to catch any water that might drain from the pipes.
Turn Off the Water Supply
Remove the Old Tap
Next, it’s time to remove the old tap. Use your adjustable wrench to loosen and remove the nuts that secure the tap to the sink or countertop. There are usually two nuts, one for the hot water line and one for the cold. Disconnect the water supply lines by unscrewing the compression nuts or disconnecting the flexible hoses. If there’s a sprayer hose, remove it as well. Once all the connections are detached, lift the old tap out of the sink.
Prepare the Sink
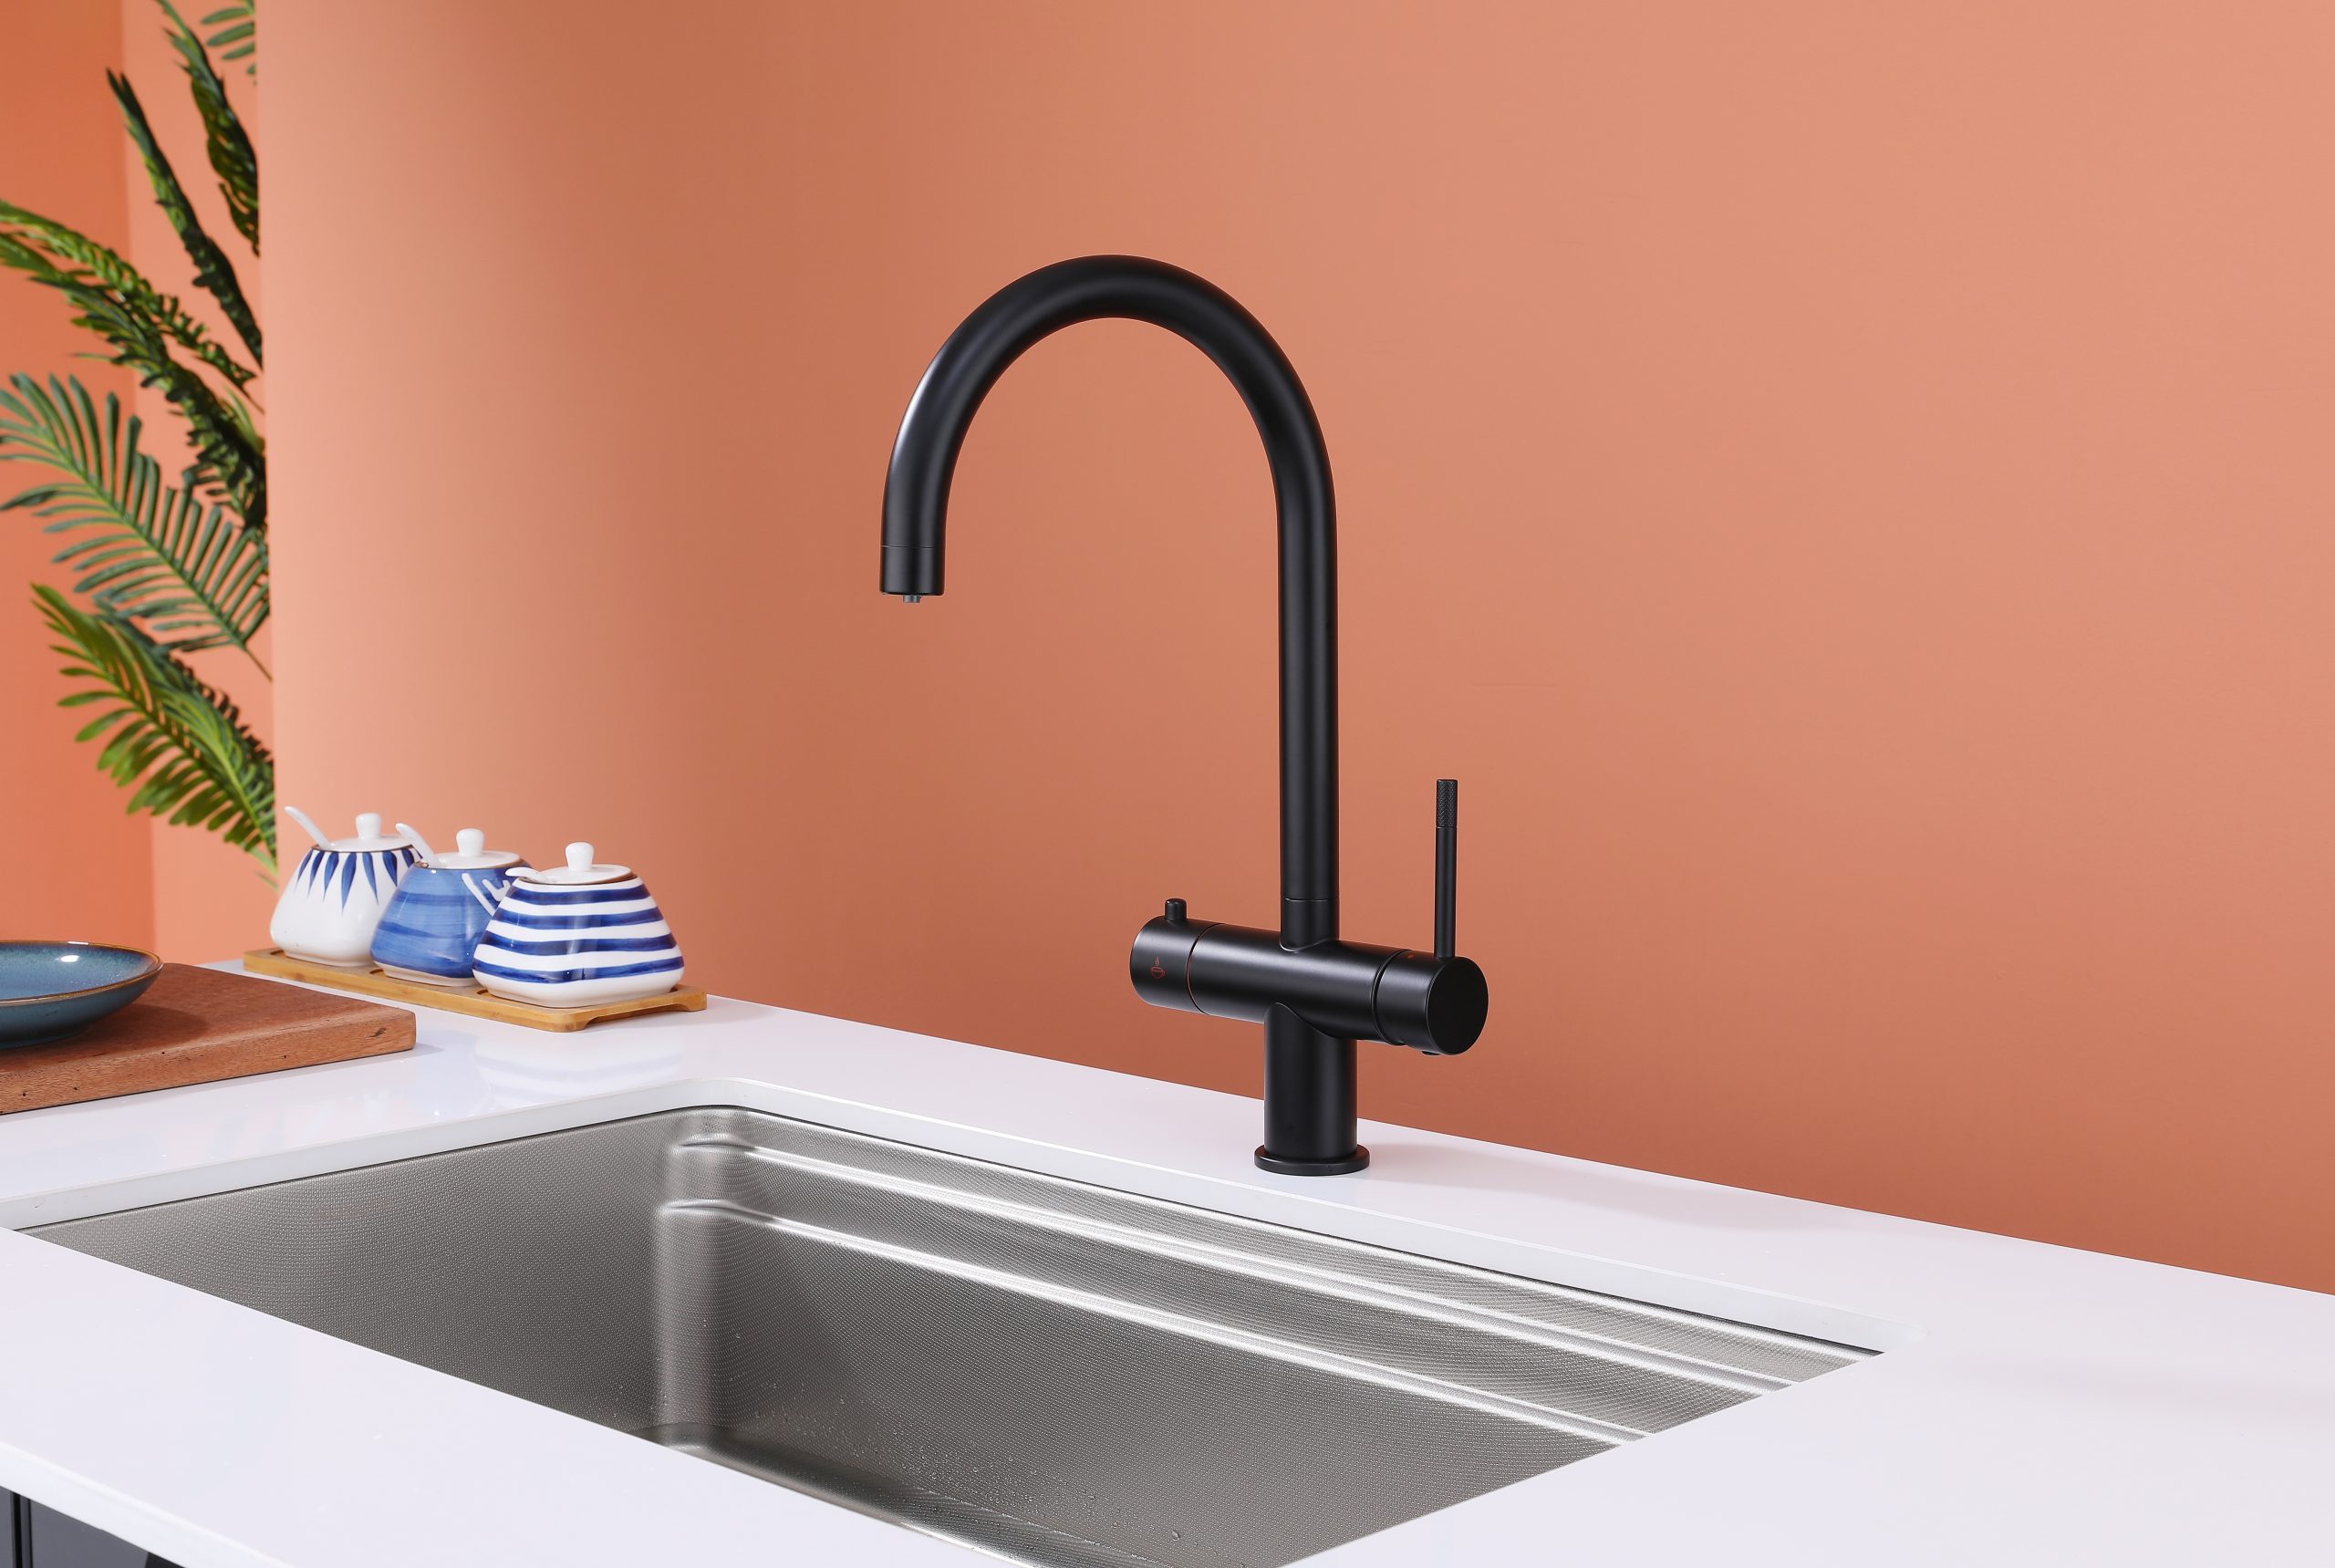
Install the New Tap
Insert the new tap through the sink holes from the top. From underneath the sink, attach the mounting hardware that came with the tap to secure it in place. Tighten the nuts evenly to ensure the tap is stable. Then, connect the hot and cold water supply lines to the corresponding inlets on the tap. Wrap plumber’s tape around the threads of the connections to prevent leaks. Finally, if your tap has a sprayer, attach the sprayer hose.
your needs before making a purchase. By identifying your requirements and priorities
popular electronics, as well as provide in-depth reviews of the latest gadgets in the market. Happy shopping!